Selection & Where
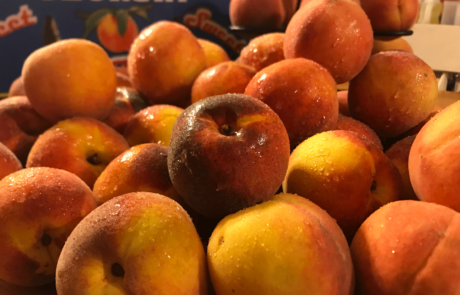
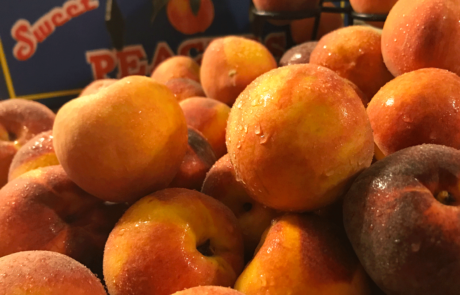
One of the benefits of living in southeast Tennessee is that it borders Georgia, “The Peach State”. Once a year, the Peach truck makes a stop through my town and sells 25 lb. boxes of freestone Georgia peaches right off the back of their 18-wheeler. This gives me access to some epic peaches. The only way I know how to find fresher peaches is to go pick them off the tree yourself. The instruction card advised that I let my peaches sit out on the counter for 2-3 days to reach maximum ripeness. I decided to can them all because I didn’t have enough room in my freezer.
If you’ve ever wanted to learn how to can peaches, this is how I did it.
Disclosure: Adam’s Garden of Eatin’ participates in affiliate marketing programs. There are some affiliate links below and I may receive commissions for purchases made through links in this post, but these are all products I highly recommend. I won’t put anything on this page that I haven’t verified and/or personally used.
What you’ll need
Peaches (slightly under-ripe peaches hold up better to the canning process)
Large Pot for blanching
Large pot or bowl for the ice bath
A small pot of simple syrup solution
Real Sugar (Sugar substitutes require different processes)
Wide-mouth Quart Canning Jars (cleaned and sanitized)
Small pot for sanitizing lids and rings
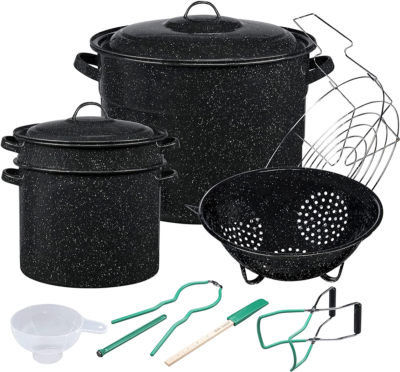
Canning Toolkit (Not required but highly recommended)
Prep
Peaches must be canned in a sugar solution. I used simple syrup (sugar & water), but you could use fruit juice if you wanted to play with flavors. The sugar enhances flavor, helps stabilize color, and maintains the fruit shape. Here is my simple syrup ratio for Light, Medium, and Heavy:
Light – 2 Cups Sugar / 6 Cups Water (I prefer a lighter syrup because the peaches are already super sweet, I don’t want to overpower them, but you do you.)
Medium – 3 Cups Sugar / 6 Cups Water
Heavy – 4 Cups Sugar / 6 Cups Water
Bring sugar and water to a gentle boil, stirring constantly until sugar is fully dissolved. Reduce to low and keep syrup hot.
Sanitize your Jars, lids, and rings. Run your jars through the dishwasher or boiling water for 10 minutes.
Place lids and rings in a small pot of boiling water for 5 minutes.
Wash your peaches first. Duh. You should wash all your produce.
Fill a large pot with water and bring to a boil. Fill another large pot or bowl with ice water for the ice bath. This stops the cooking process of the peaches.
To the ice bath, add the lemon juice. The acidity from the juice will keep your peaches from turning brown. I was working with a lot of peaches so I just filled my sink with ice water and squeezed 2-3 lemons into the water.
Blanching is a quick process, so it helps to have everything set and ready to go beforehand.
Process
Take a sharp knife and score an “X” on the bottom of all your peaches. This allows for easier peeling after the blanching process.
This was tedious. 25 lbs of peaches is a lot of peaches.
Submerge peaches in boiling water for 30-45 seconds. I the firmer the peaches the longer they need be blanched.
I just watched them until I saw the corner of the “X” start to peel away
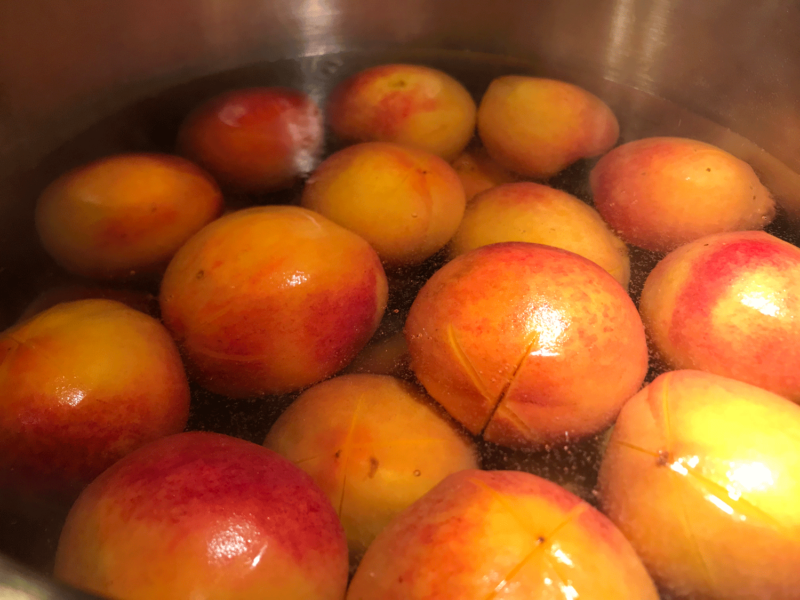
Remove peaches and submerge them immediately into the ice bath. A slotted spoon will work fine for small batches, but I recommend buying a steamer basket if you’re canning a lot of peaches. It allows you to quickly blanch a lot of peaches at one time and keeps them all together.
It’s irritating to have to chase down floating peaches in a pot of boiling water
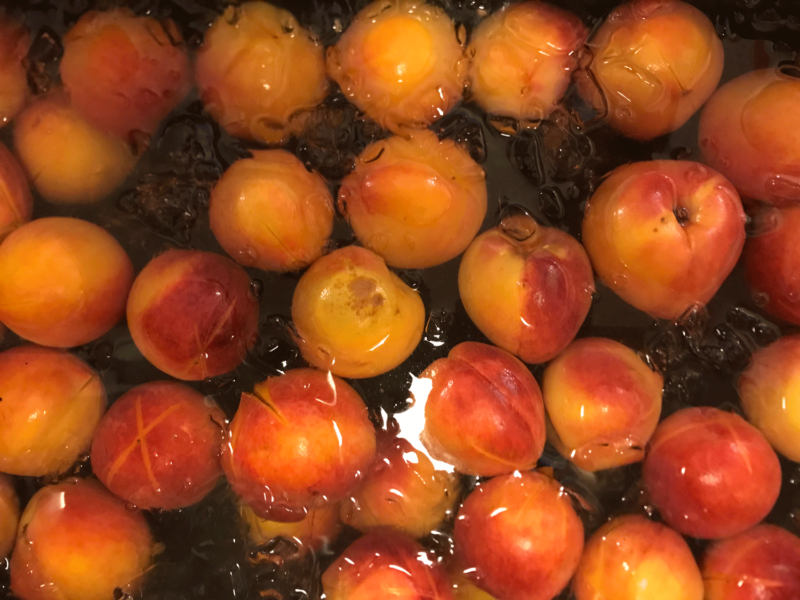

The peach skins should slide off easily. A few of mine were stubborn so I had to use a knife to help them along.
Cut away any mushy or brown spots. Slice peaches in half.
SAVE THOSE PITS & SKINS TO MAKE JELLY!

Canning
Pour Vanilla and Bourbon into each jar. I just eyeballed the amount. Adjust to your preference.

Hot packing adds another step to the process, but it does have benefits. For a hot pack, place sliced peaches in a barely boiling simple syrup mixture for 5 minutes. It makes the fruit a bit safer, easier to pack into jars, and less likely to float. Skip this step if you want a cold pack.
Firmly Pack peaches into sanitized jars and fill them with simple syrup. Leave 1/2” to 1” at the top.
The firmer your peaches are packed and the lighter your syrups mixture, the less likely they are to float.
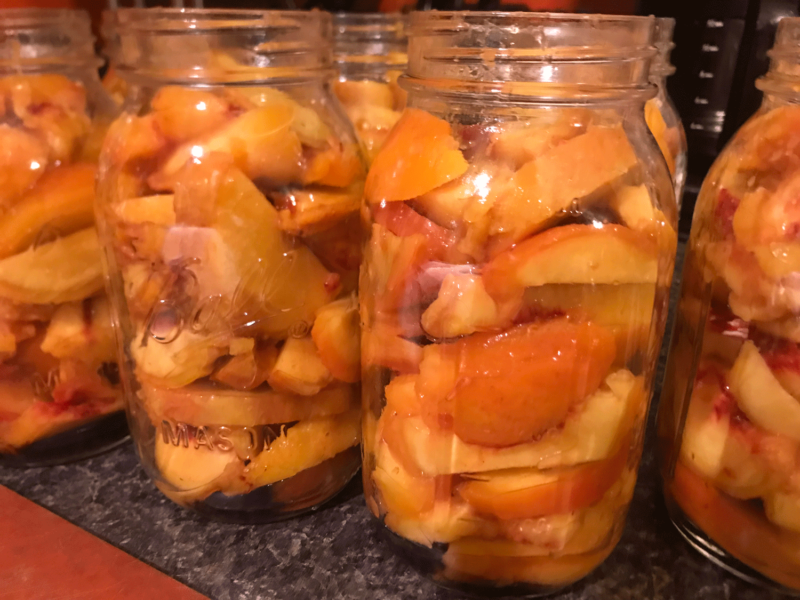
Run a table knife, spatula, or the tool that came with your canning set, around the sides of the peaches to release trapped air bubbles. Tilt jar the jar slightly and press gently press inward to be most effective.
Top off peaches with more sugar solution. Leave 1/2” headspace. If peaches are not fully submerged in liquid, they may turn brown. This isn’t bad, it just looks unappealing to the eye.
Take a clean cloth or paper towel and wipe the rim and screw threads of all your jars. This removes anything that could hinder the lid from sealing properly.
Place lids on each jar using your magnetic tool. Screw bands on jars until snug. Don’t over-tighten.
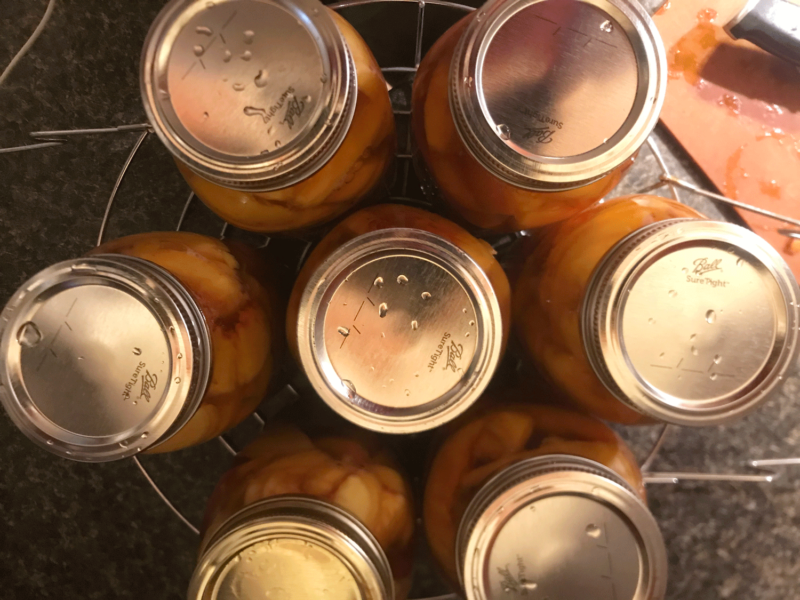
Place jars in your canner making sure they are covered with at least 1” of boiling water.
Process jars according to the USDA guidelines below




Leave A Comment