


A lot of my projects fall under two schools of thought. The first school of thought being buy nice or cry twice. These apply to things and situations where the outcome or use holds heavy importance. I don’t want a no-knowledge, DIY project installing brake pads on my truck.
My second school of thought is; can I reuse, recycle or upscale it?
I had extra building materials laying around my house from past home projects. Just enough of each element that it took up space, but not enough to do a full complete job without spending more money
It started with a cooler that I didn’t use, but was too nice to trash.
I had leftover air stones from a bathroom project.

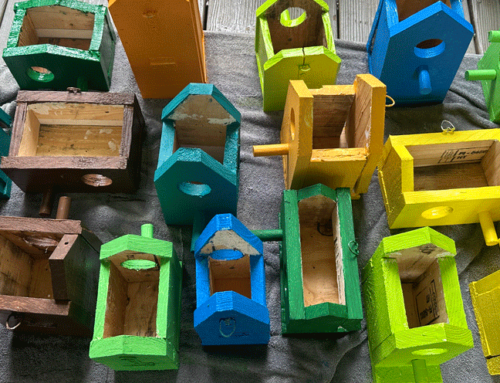
I had some leftover weather barn wood pieces from my original garden shed. I even had some leftover roller bearings and 2x4s from a failed past project. Even a leftover piece of plywood.
I did some Pinterest research and found my solution. I wanted a garden planter for my back porch but really didn’t want to spend any money.
With all my extra supplies, I assembled a rustic DIY cooler garden planter.
This solved a lot of my issues.
√ It repurposes an over-the-hill cooler. Keeps that little bit of plastic out of the landfill.
√ It won’t rot over time from water.
√ It would be easily maneuverable because of the rollers.
√ It would use up my leftover construction supplies.
√ And It would give me a rustic-looking planter for my back porch.
√#winning.

Step 1
I drilled some drainage holes through the bottom of the cooler.


Step 2
I measured and cut my 2x4s to length for the base portion. I then measured and cut my pieces for side and vertical supports.
I secured everything with 3” wood screws I found in my garage.


Step 3
I measured the length and width of the plywood facing. I cut my scrap piece of plywood to size and attached it with more screws I found in the garage.
I only had enough to cover the front and back. Which turned out to be all that I needed.
Step 4
I then measured, cut, and attached my barn wood scraps to the plywood facing using more screws that I found in the garage.
The Barnwood pieces were partially rotten so I could only get larger pieces for the top and bottom orders. This is the pattern that I ended up with.


Step 5
I attached the leftover air stone to the top with a tube of silicone adhesive that I found, surprise, surprise, in the garage. I used the air stone to give a stone look to my bathtub without the stone price. I loved the way it turned out.


Step 6
I attached the last of my barn wood scraps to the inside rim of the cooler for a cleaner look. The top was going to be exposed and didn’t want the 2x4s to be visible. That was definitely “going extra”, but it looked nicer.


Step 7
Once I had all the barn wood attached, I flipped the whole thing upside down and screwed on my wheel bearings. I forgot to take pictures while doing this, but they turned out great. One less thing taking up space in the garage. It also allows me to easily maneuver my new planter to wherever I need to place it.
Step 8
A whole cooler filled with soil was slightly overkill for what my purpose. I had some leftover plastic plant containers in my garden shed, so I lined the bottom of the cooler with those. I just needed something to take up a bit of space before I poured in my soil. You could use whatever you have. Old water bottles, milk jugs, sticks, and twigs.
Step 9
After I placed my filler in the bottom, I poured in a bag of garden soil. It was the perfect amount and filled the remaining space perfectly.
Step 10
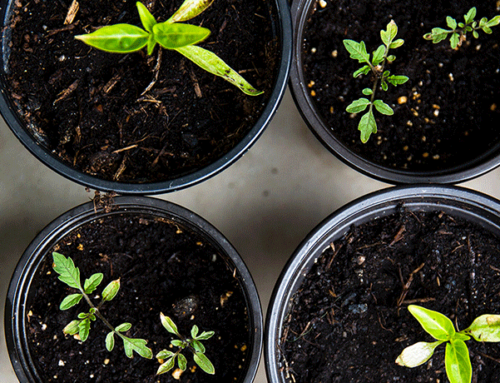
I planted some coleus plants in the container because they do well in the shade for me. I then attached a little planted box on the front of the plant with some of the extra pieces of barn wood. I even found a bear head bottle opener to add as a finishing touch.


I was very pleased with how this DIY project came out. It solved all my issues and couldn’t ask for anything more. It saved that little bit of plastic from the landfill by repurposing an old worn-out cooler. It made use of a lot of extra supplies taking up space in my garage. It added gave me a planted box for my back porch. And I was even pleased with the rustic look of the final piece.
This was definitely a one-of-a-kind D.I.Y. project for sure. Not everyone is going to just have barn wood lying around their garage.


Came out great, good job!
This is a really cool idea. Thank you!
I love this idea! I’m going to have to look for old coolers on the side of the road now. lol
What a great way to upcycle an ice chest! Plus, it will have extra insulation for the plants, which most garden pots don’t have.