

It’s Fall and that means pumpkin season. Everything. Everywhere. ALL THE TIME. Pumpkin. So let’s can some pumpkin for the pantry. I’ve never canned pumpkin before, but it was a new canning recipe to try. I decided not to add any additional seasoning while canning. I just season as I cook, but you do you.
Ingredients
Pumpkins. I was given 2 carving size pumpkins, but I read smaller-sized pumpkins are better for canning. Can’t argue with free, so carving size it is.
Pressure Canner. You have to have this piece of equipment to properly can and preserve food.
Baking sheet
10 Wide mouth Quart Jars. Wide Mouth makes this recipe way easier.
Rings & Lids
Canning Tools
Large Pot
Step 1 – Clean It.
Cut the lid off and get your hands dirty. Use an ice cream scoop or metal spoon to clean out the stubborn bits.
This is a great time for the kids btw.

Step 2 – Peel It.
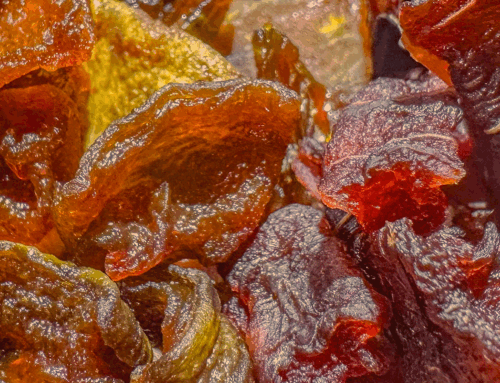
The first pumpkin I peeled, I tried the oven technique. I baked my pumpkin at 350º for 1 hour. That’s what my reading said. Wrong. 1 hour was way too long.
The skin did peel right off, but the pumpkin itself was almost mush. I read you can’t properly can pumpkin puree because it can’t reach the right temperature to kill potential bacteria. Take that for what it’s worth but ok.
So I ran the roasted pumpkin through the food processor, filled freezer bags, and laid it flat in the freezer.


For the second pumpkin, I decided to try and peel it with a hand peeler. Doable. Economical. But regretful. I discovered slicing it into wedges made the peeling a little bit easier, but pumpkins really aren’t made to be peeled with a hand peeler. I would advise perfecting the oven peeling technique before using a hand peeler. But I finally had my peeled pumpkin.

Step 3 – Slice It.
Bring a pot of water to a boil. Slice your pumpkin into pieces. I tried to stay in the 1” chunk range.
Nothing exact, but large enough to hold up to the blanching process and small enough to fit in canning jars.

Step 4 – Blanche it.
I placed my pumpkin chunks in the boiling water for 2 min.
Save the blanching water.

Step 5 – Jar It.
I filled 10-quart jars with my pumpkin chunks. I decide to use the leftover blanching water as my canning liquid. It just adds more pumpkin flavor to the final results and no need to waste it. I filled my jars and left 1” headspace at the top. I then placed my sterilized lids and screwed on my rings.

Step 6 – Can It.
I placed my jars in the pressure canner. Don’t lay your jars on the side. FYI. Only can what your canner can properly hold. I lost a lot of liquid in the three jars that were lying down. Rookie mistake.
I canned them at 10 lbs for 1 hour. Please check your canning times and pressures before proceeding.

Step 7 – Release It.
I let my pressure canner completely cool. Removed the lid and placed my jars on a towel. I left them alone overnight and listened to the sound of the pings.
My first attempt at canning pumpkin was a success.


This is genius! I’m going to try this. I always buy canned pumpkin (especially around this time of year), but canning your own will save so much money. I am going to try this next year when pumpkins go on sale. Thank you!
You’re welcome. Best of luck to you!