

A couple of seasons ago, I tried planting three fruit trees. Two peach trees and one pear. The two peach trees did not survive their first winter and died off. Bummer, but the pear tree decided to keep on livin’. In the past, I had seen one or two limbs bear a couple of pears, but nothing to get excited about because they would always get eaten by critters long before I could harvest them.

Disclosure: Adam’s Garden of Eatin’ participates in affiliate marketing programs. There are some affiliate links below and I may receive commissions for purchases made through links in this post, but these are all products I highly recommend. I won’t put anything on this page that I haven’t verified and/or personally used.

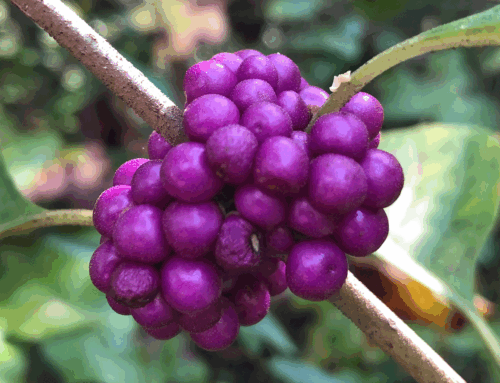
However, things changed this season! My pear tree decided to fruit heavily and I was rewarded with a huge bounty of Green Bartlett Pears! I had so many, that my branches were at their breaking point and I had to use some rope as a D.I.Y. support. It was a good problem to have. I had never done anything with pears, so I decided to follow southern tradition and attempt homemade canned pear preserves.

Step One
Wash your pears. No telling what has made its home on your ripe pears.
Mix a container of water and lemon juice for your peeled pears. I didn’t measure. I just poured some water and dumped some lemon juice.
Pears tend to brown quickly if left out in the open.
The lemon juice water prevents this from happening


Step Two
Get to peelin’. If you have one of those apple peeler kitchen gadgets from amazon, they work very well on pears. I, however, did not. I just grabbed my trusty hand-peeler and found my peeling groove. It took a little longer than I anticipated, to hand peel all my pears.
I placed all my peeled pears in the lemon juice water.

Step Three
Core your pears. I didn’t exactly “core them”. I just cut away chunks of pear, until I started feeling the rough core. I didn’t cut my pear chunks too fine. Chunkier pieces held up better through the cooking step. Better biscuit-topping results
I saved all my cores and skins in a freezer bag for pear jelly later.

Step Four
I placed all my pear chunks and my sugar in a big cooking pot.
For every 8 cups of pears, I added 1-1/2 cups of sugar.
I just alternated my layers of pears and sugar to assure a good sugar mixture coverage.

I placed thinly sliced lemon on top of the entire pear & sugar mixture to keep the pears from browning.
I let the mixture sit overnight to macerate. This was an important step.
The sugar is absorbed through the pears and draws out the liquid creating a pear syrup.
It takes time. And there is no substitute for time.

Step Five
I heated my mixture over medium-low heat and would stir every 20-25 minutes. It was a slow process, but I didn’t want to burn anything.
I just kept a closer tab on it while I cleaned my canning jars.
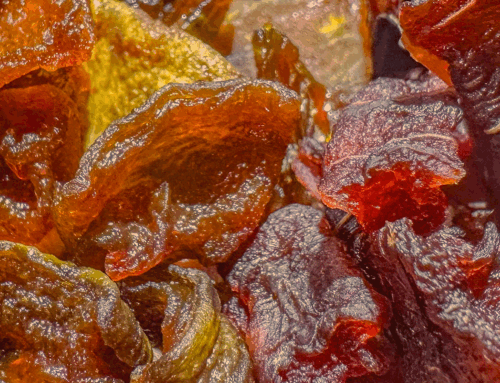
You’re looking for a translucent amber color.
LOW AND SLOW. LOW AND SLOW.
Don’t turn up the heating to speed cooking time. Pear preserves can burn very easily. I went low and slow for the FIRST 3 HOURS, but I got impatient in the last 30 minutes of my 4th hour. I turned up the heat just a bit. I promise it was just a little bit.
Boom. Burnt the bottom.

Step Six
I ladled my preserves into my cleaned and sanitized quart jars. I had enough to make 6 full quarts of preserves. From one single tree!
Wipe the rims with a damp cloth of water and vinegar. The vinegar really helps with a quality seal.
Place your filled jars in a water bath for 15 minutes. Remove and listen for the canning ping.
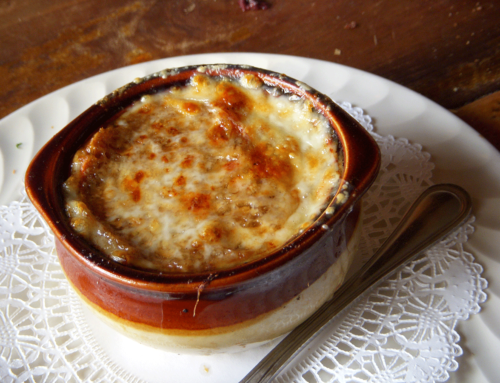
Add another notch in your canning belt and serve over some biscuits. Enjoy!


Adam this sounds soooooo good!!!!! Defo going to try and make my own when I can 🙂
This looks amazing thanks for sharing
This is a great recipe! Thanks for sharing!
Great recipe. Looks delicious
Wow, what a wonderful way to preserve pears! I love this ide, thank you
Very good post. I am dealing with many of these issues as well.. Noreen Rustin Kopple